I am not really a marshmallow kind of person. I will occasionally have a marshmallow in my hot cocoa, and I’ve been known to enjoy a peep or two, but really that was as far as it went for me with marshmallows.
At least until I discovered I could make my own. I made a batch for a party and was pleasantly surprised that homemade marshmallows don’t taste like the flavorless, mass-produced marshmallows you can buy at your local mega market. Then, through a bit of trial and error, I figured out how to make marshmallows using honey. YUM. I like the fact that the honey is locally sourced and I really like using local wildflower honey because it has a really subtle clover taste.
For this batch of marshmallows I used clover honey from Ambraw Apiary in Newton, Illinois, but any local honey will do. Choose the one you like the best.
Making marshmallows is a really fun way to spend some time on a lazy afternoon. This could also be a fun activity with older kids. However, since this recipe does call for what is basically sugar lava, keep the kiddos away from the stove. The emergency room is not the place to share marshmallow treats.
The resulting marshmallows aren’t round like the store bought kind, but they are yummy and fun to make. Plus, you can make them any color you like, and for an extra-special treat you can even dip them in chocolate.
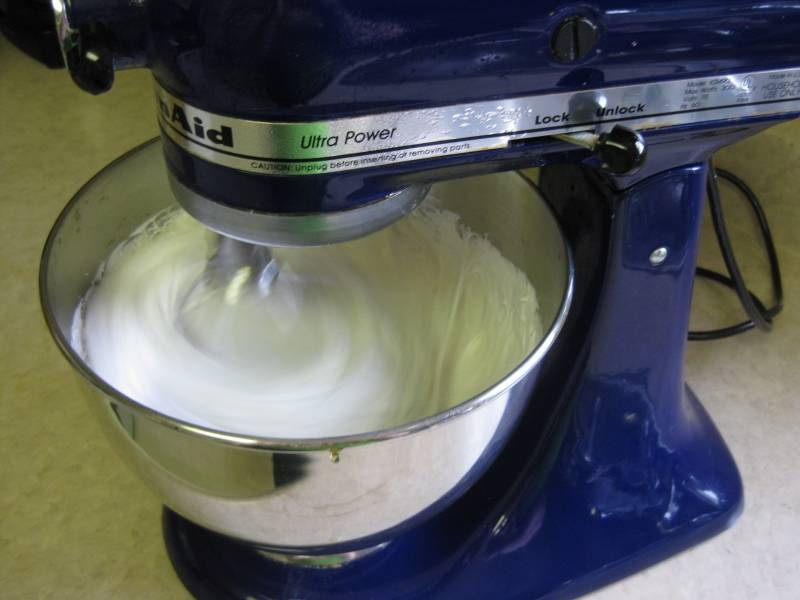
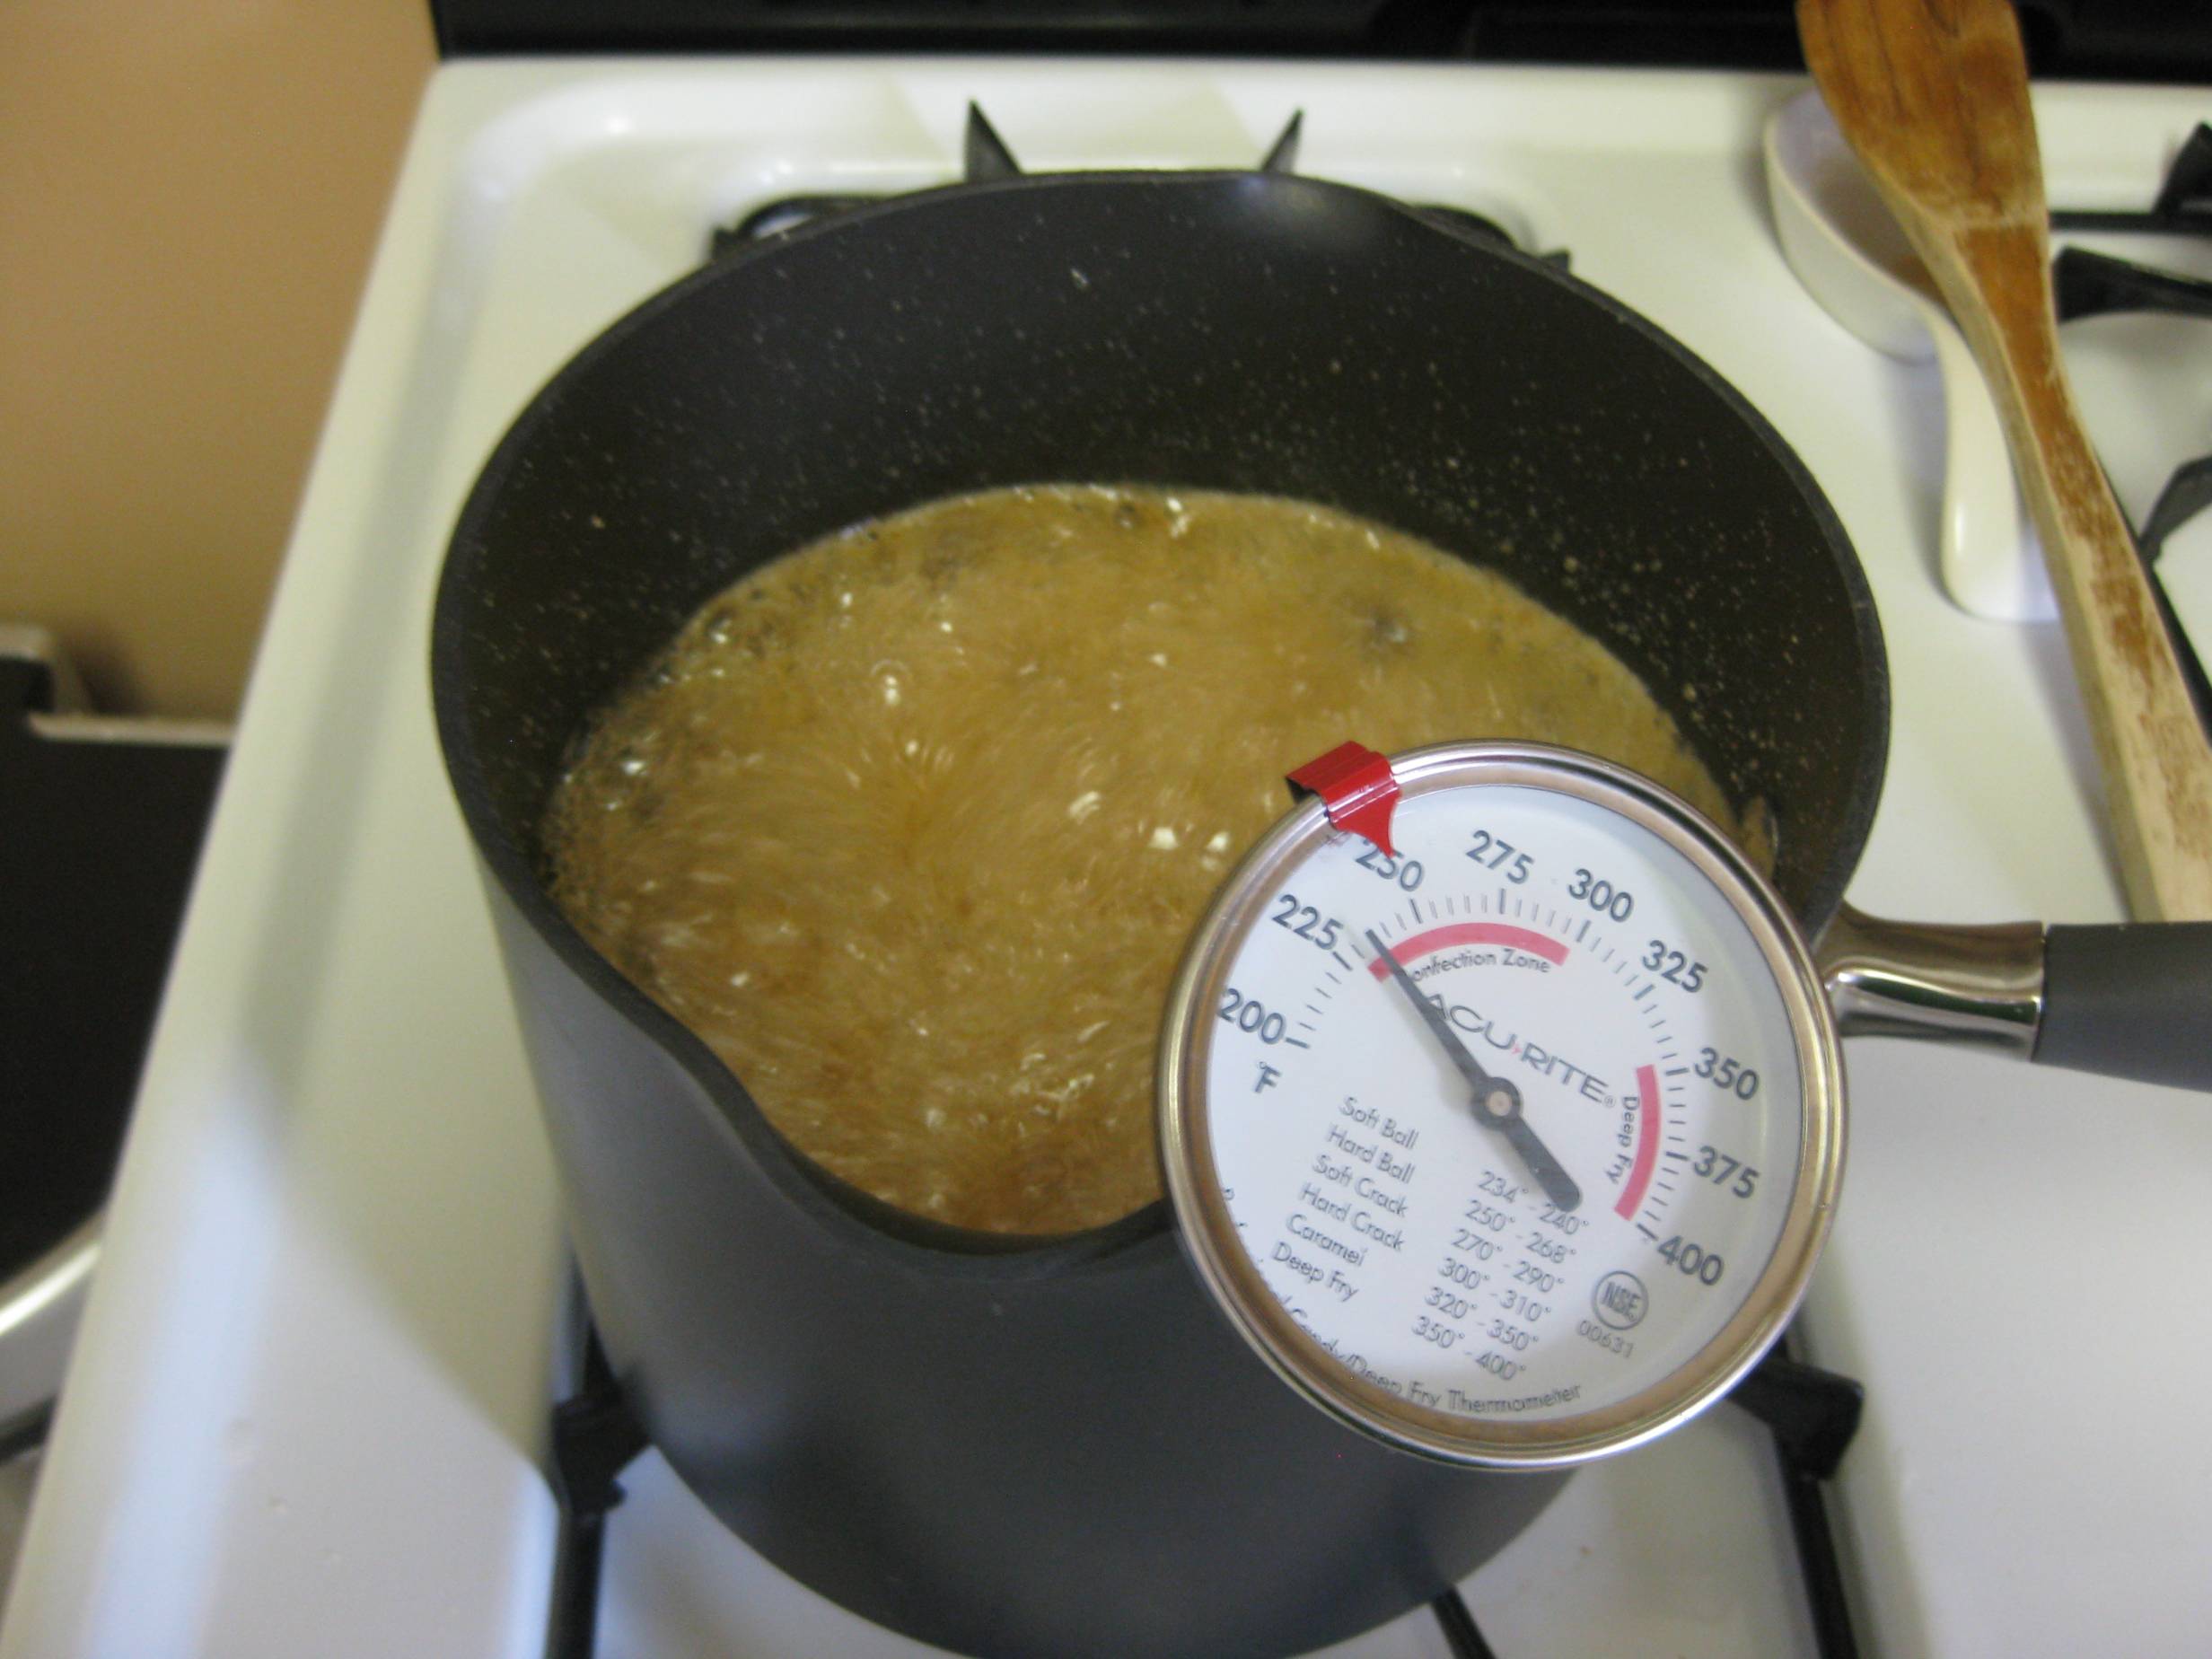
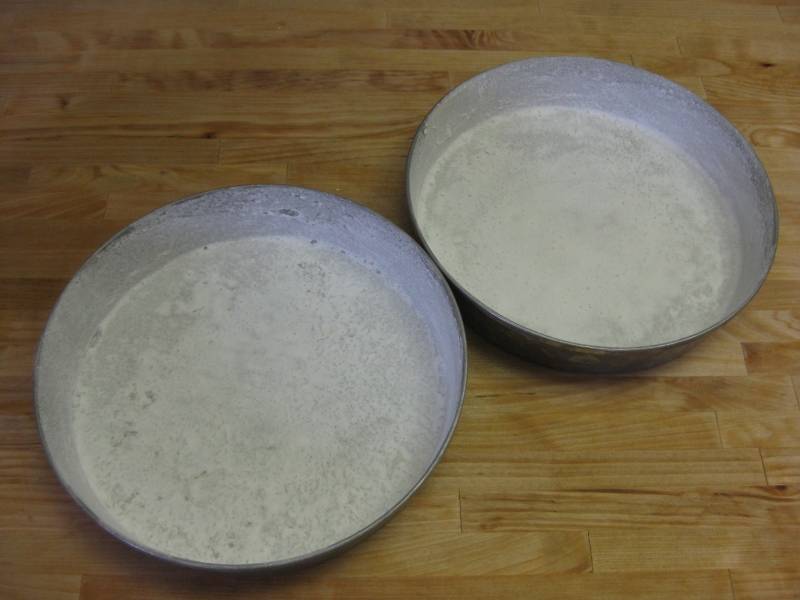
This recipe does require some special equipment. A stand mixer with a whisk attachment is necessary for making marshmallows because adding as much air as possible to them will make them really light and fluffy. Also, a candy thermometer will help to make sure the marshmallows don’t turn into hard, inedible chunks of burned sugar. You will also need two 8×8 metal cake rounds.
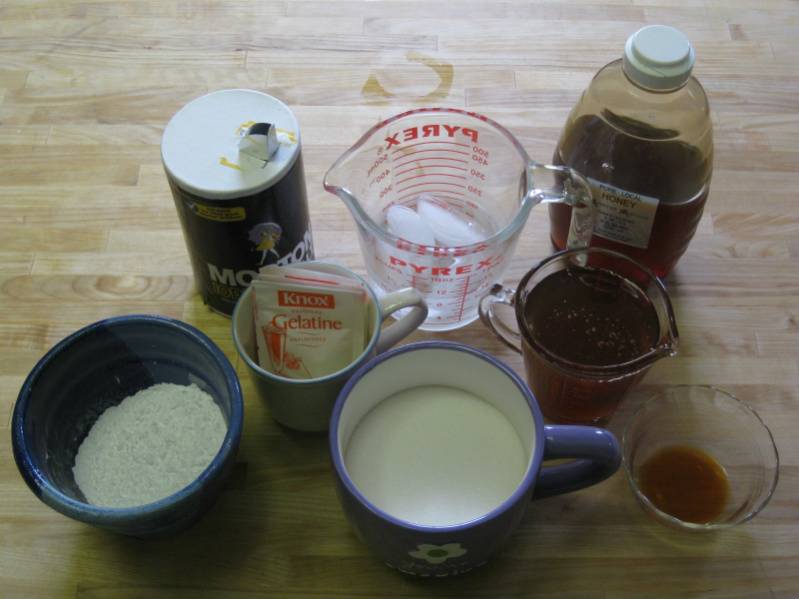
To begin, here are the ingredients needed (recipe adapted from Alton Brown’s “Puff the Magic Mallow” Good Eats Episode):
3 packages unflavored gelatin
1 cup ice cold water, divided
1 ½ cups granulated sugar
½ cup light corn syrup
½ cup honey
¼ teaspoon kosher salt
1 teaspoon vanilla extract
¼ cup confectioners’ sugar
¼ cup cornstarch
Nonstick spray
Gel icing coloring
Once all the ingredients are handy, place the three packages of gelatin in the bowl of your stand mixer with ½ cup of the ice water. No need to mix or anything.
In a large saucepan over medium high heat, combine the granulated sugar, honey, light corn syrup and salt, along with the remaining ½ cup ice water. Cover and cook about 4 minutes. Then uncover and add the candy thermometer to side of the pan. Turn the heat to high. If the mixture is a bit below the probe of the thermometer at this point, that is okay. The mixture will bubble and roughly double in size while cooking. It should take 7–9 minutes for the thermometer to reach 240°. Remove immediately from heat.
Insert the whisk attachment to the stand mixer and start on low. Being very careful, add the sugar lava mixture to the stand mixer by pouring slowly down the inside of the mixing bowl. This will allow the mixture to cool a little before reaching the gelatin. Once all the sugar mixture has been added, turn up the mixer to high. Leave the mixer running on high 12–15 minutes. The marshmallow mixture will double in size, feel lukewarm to the touch, and become white and shiny.
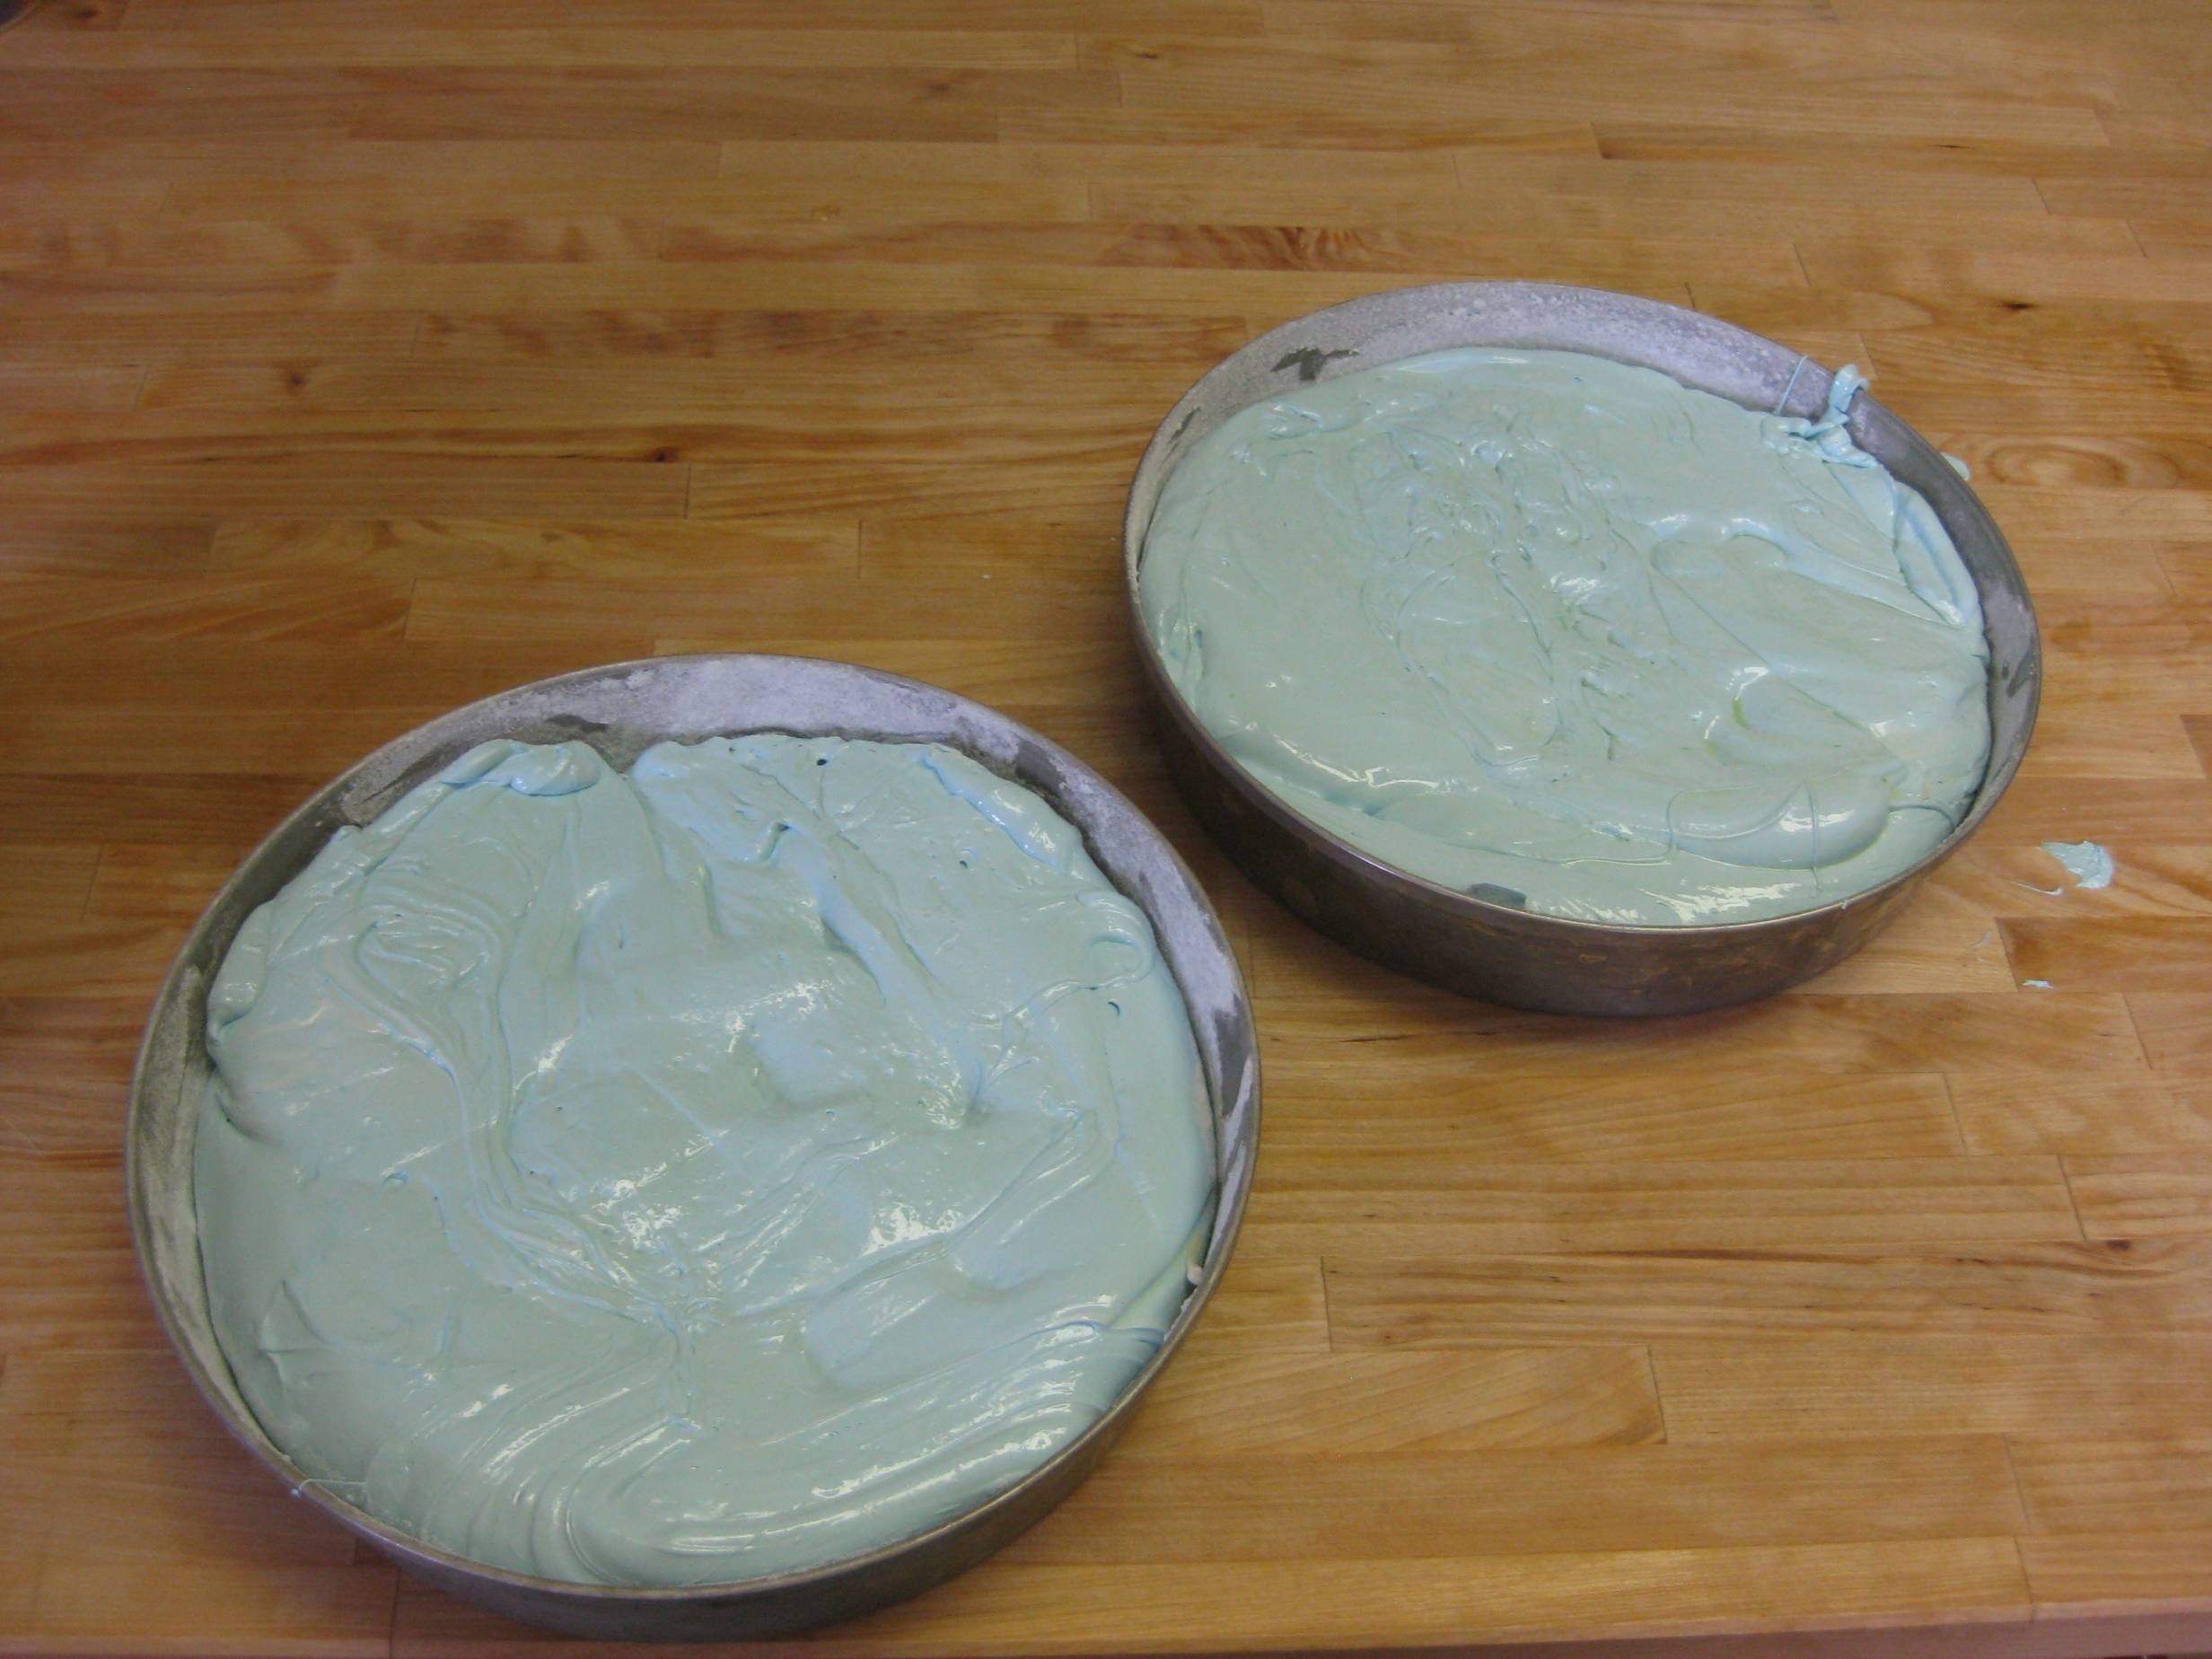
While the mixer is running, mix together the confectioners’ sugar and the cornstarch. Spray the 8×8 cake rounds with nonstick spray to cover the inside surfaces entirely. Then add a small amount of the sugar-starch mix to the pan. Shake the pan vigorously to coat with the sugar-starch mixture, adding more as needed. I did this step over a cookie sheet to avoid making a mess all over the counter. Be sure to coat the pan entirely or the marshmallows will stick to the pan and be very hard to remove. Set aside the remaining sugar-starch mixture.
In the last minute of mixing, add the vanilla extract to the sugar mixture. Other extracts could also be used in place of the vanilla. I made a batch with lemon extract, which turned out pretty yummy. But, because the honey imparts a mild floral flavor to the marshmallows, I have found that the vanilla extract is really my favorite with honey marshmallows.
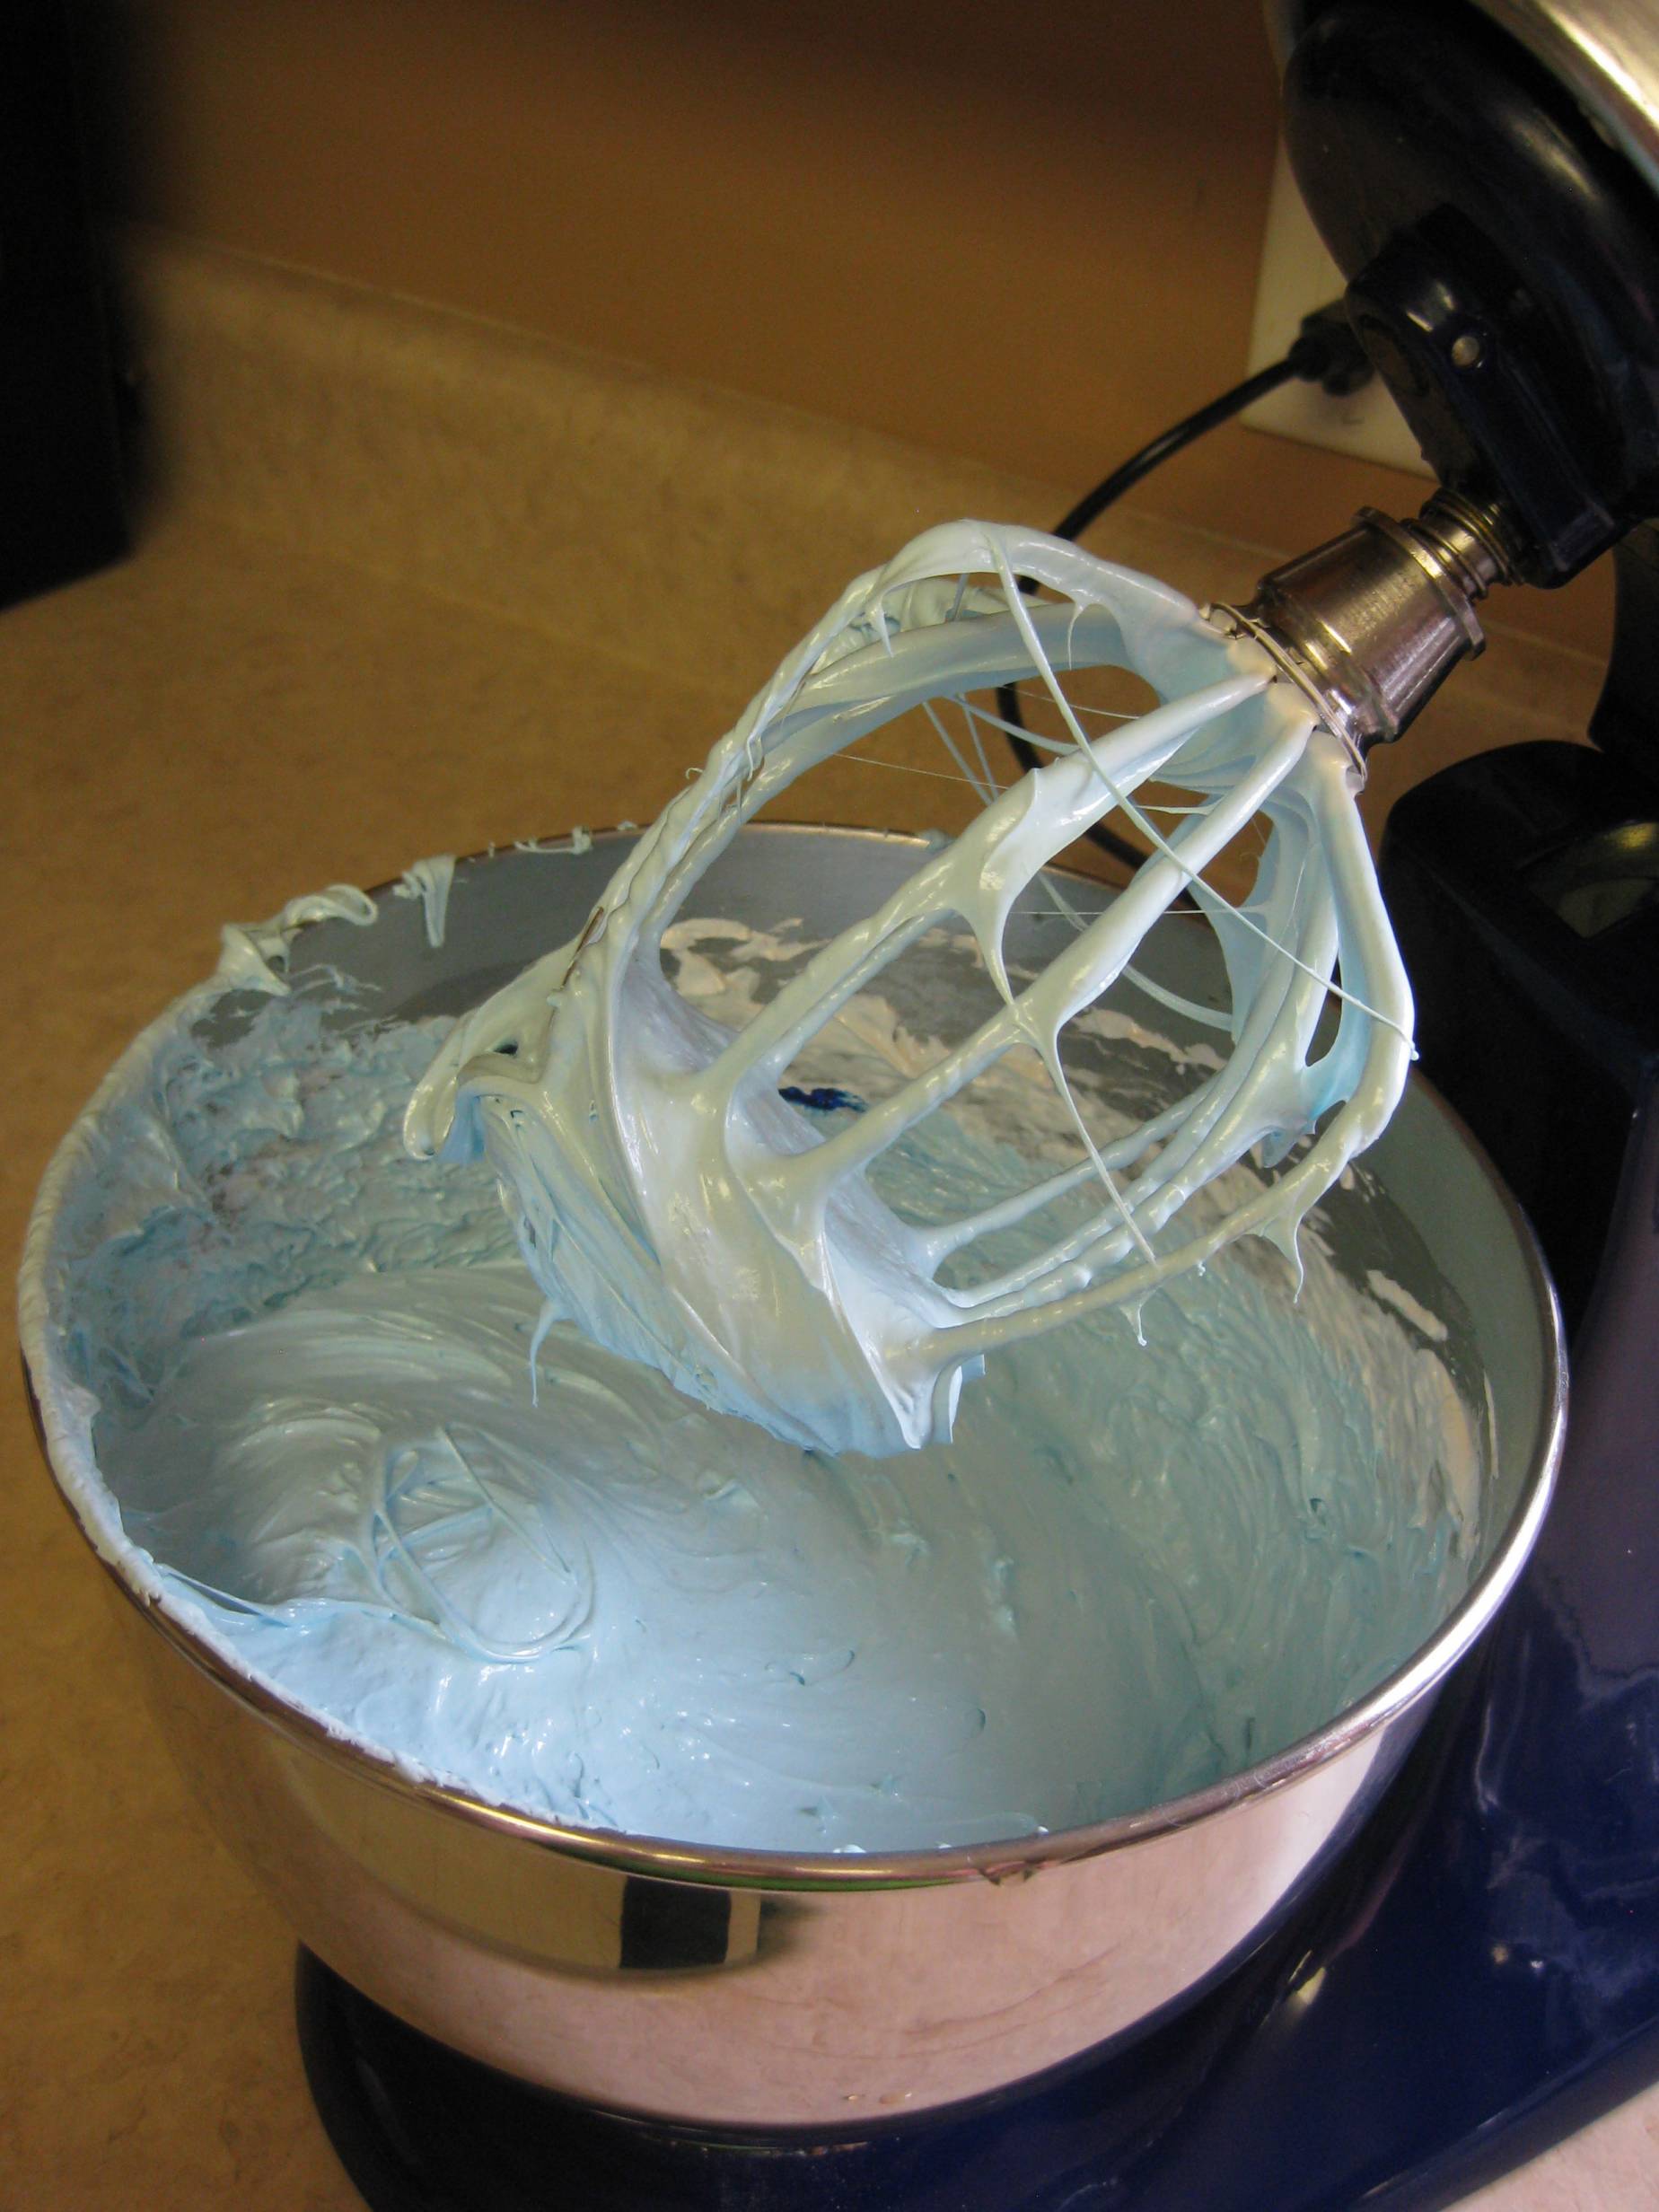
At this stage you can also add coloring to the marshmallows. I was making this batch for a friend who was graduating from grad school, so I made these blue. I have found that icing coloring gel tends to work better than the liquid food coloring stuff. It has a much nicer color without using a ton and won’t thin down the marshmallows. Local craft places carry every color of the rainbow. I used the Wilton brand, and applied to the marshmallows with a toothpick while the mixer was running until I achieved the color I wanted.
One word of caution about the icing gels: They stain everything. I once had to go to a formal event with purple fingers because of icing gels. True story. Try to keep it on the toothpick and away from anything else.
Once your marshmallows are the color you prefer, use a spatula coated in non-stick spray to spread the marshmallows in the pan. Once the pan is leveled out, use some of the remaining sugar-starch mixture to cover the top of the marshmallows. Then leave the pans uncovered for at least 4 hours, but preferably overnight. While the marshmallows are cooling in the pan, I highly suggest getting the marshmallow mixture washed off of all implements, countertops, etc. Once that stuff dries it’s really hard to remove.
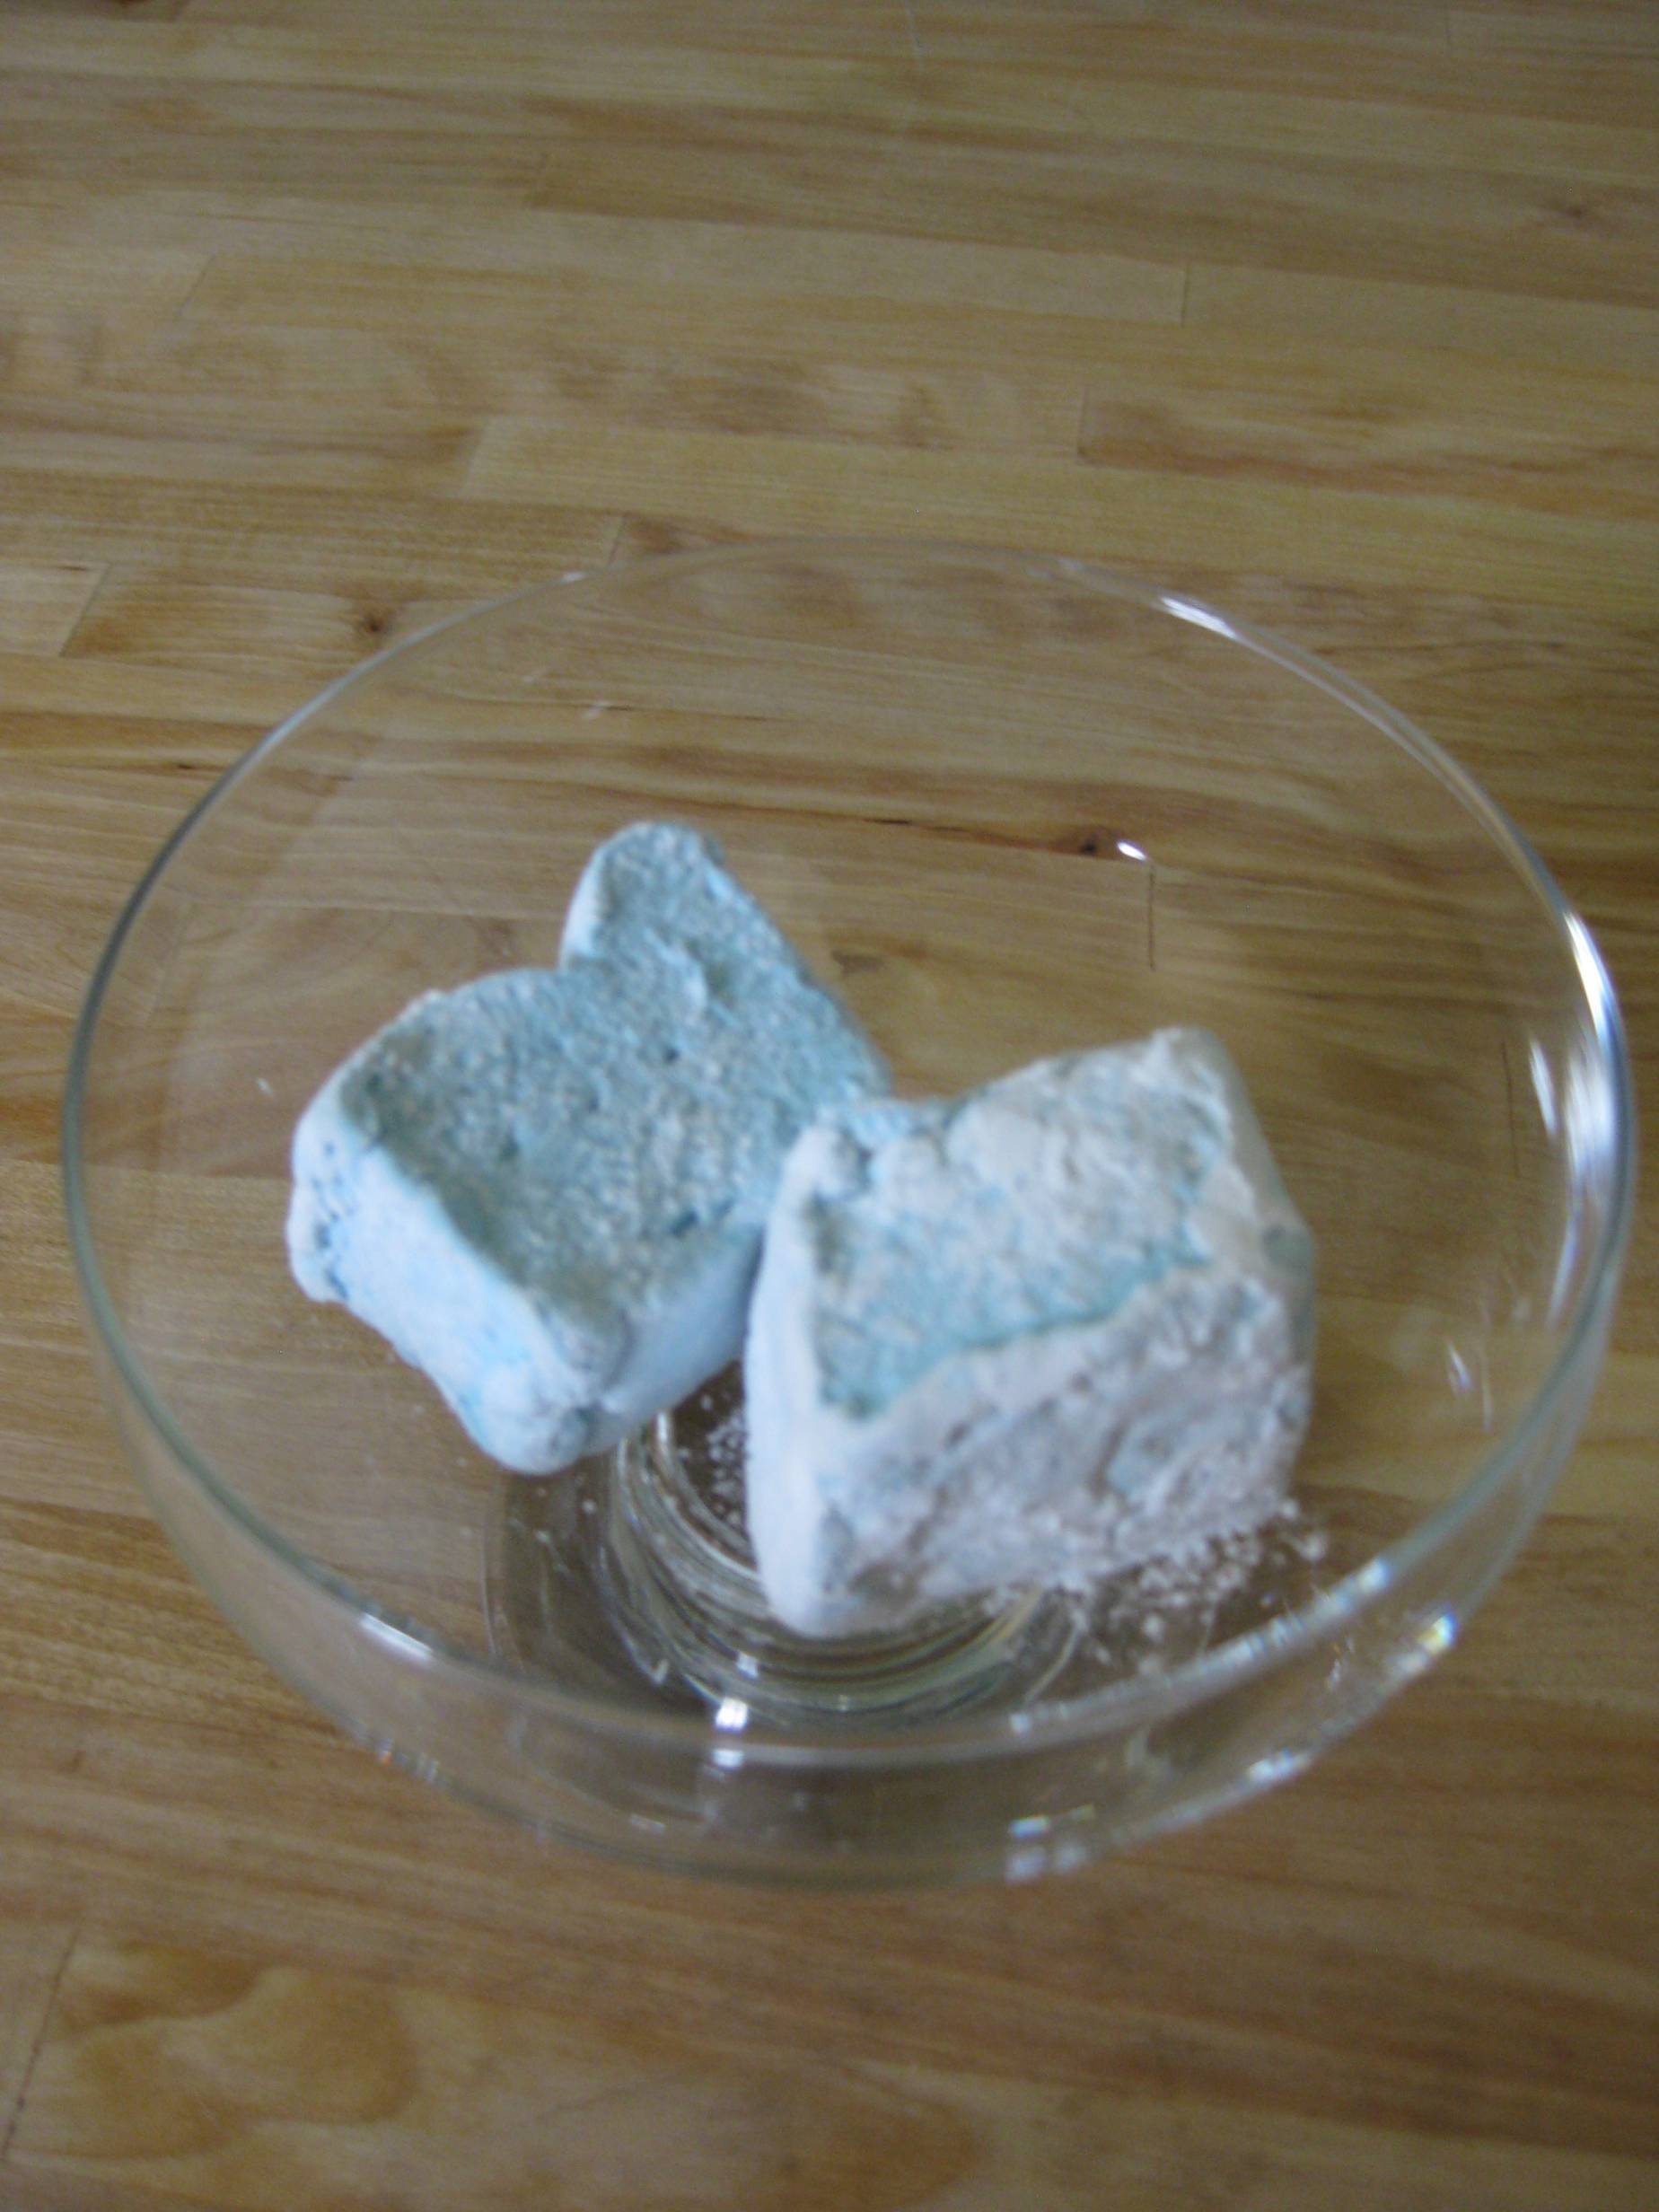
Next, turn the marshmallows out on to a cutting board and cut with a serrated knife into 2” cubes. You can also use a pizza cutter for this step, but I found that the pizza cutter didn’t allow me to make as neat of cuts as I wanted. Once the cubes are cut, put the marshmallows in a zip top bag with the remaining sugar-starch mixture and shake until all sides of the marshmallows are coated with the mixture. This will keep them from sticking together.
Marshmallows will keep up to two weeks in an airtight container, but I seriously doubt they will last that long. Enjoy!